Now follow these instructions to open the files in Google Earth:
- Start the GoogleEarth software.
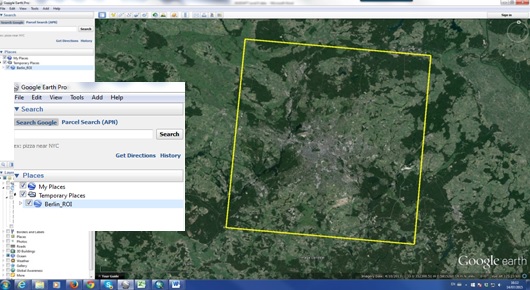
- Select File –> Open from the main menu and load the ROI file for your city. The file will appear under the Temporary Places folder as shown below.
- If you are not doing an LCZ classification for a C40 city, then download the training data template from here (or here in case you are using SAGA) and store the file to a folder on your hard disk.
- Next select File –> Open from the main menu and load the template.kml file (or if you are doing a C40 city, then the kml file will have a city name instead of [City]. Once the file is loaded, it will appear as [CityName][Date][ExpertName].
- Right click on the folder called [CityName][Date][ExpertName] and choose Properties. In the Name field, change City to the name of your city, (yyyy-mm-dd) to today’s date and {givenname_surname} to your name.
- In the Description tab, remove the ADD META DATA !!! text and fill in the information for the City, Date, Version, Expert, Email and any remarks you wish to add. Please note that your name and email will be available for all to see. If you prefer not to include this information in the metadata, please fill in pseudonyms or leave blank.
- Slide this folder to My Places (because you are going to make changes to this file).
- Finally, save it under a new filename by right-clicking on it and selecting Save Place As. Otherwise all edits will be lost if you open the file again!
- If you click on the small arrowhead as indicated by the red arrow shown in the figure above, you will see subfolders labelled according to LCZ type. Types 1 to 10 are the urban classes while types A to G correspond to the natural classes. You will store the digitised training areas for each LCZ type in its subfolder.
Now move onto Step 5, where you will digitize the training areas.